|
|
OverviewIn version 4.0 instead of columns appeared a new unit of measure - frames. Frame means a grouping of blocks. For example, in 'Three Columns' layout there are 5 frames: Header, Left Column, Middle Column, Right Column, Footer. Frame SettingsTo specify frame's settings click on the 'Tools' icon next to it. 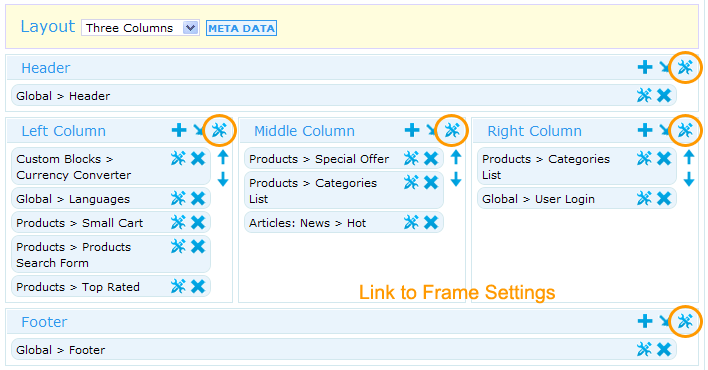 Next you will see a pop-up window with the following settings:
Note: to apply HTML code to the whole frame you should put opening tags in HTML Frame Start and closing tags in HTML Frame End. Example #1: Setting up columns widthIn version 4 columns width can be changed with the help of Frame Style field, for example: width: 500px;
or width: 30%;
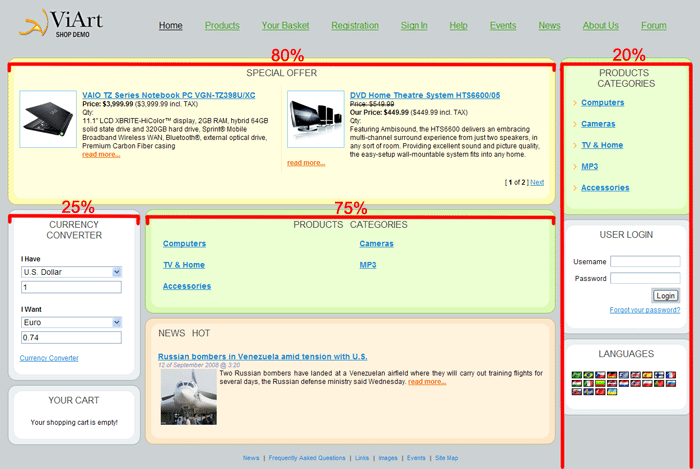
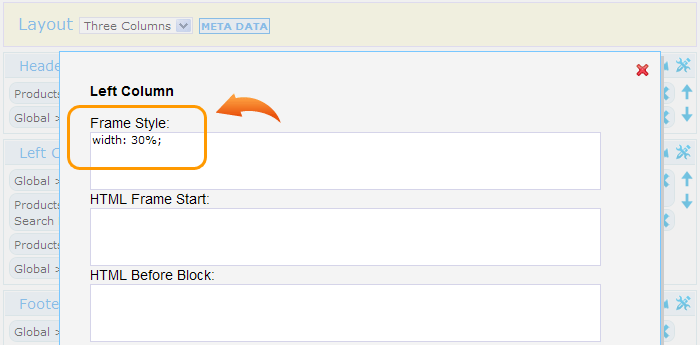 Click 'Update' and then 'Save' to keep the changes. Remember to set the width for each column, for example in 'Three Columns' layout you should specify width for Left, Middle and Right columns, in 'Hot' layout - for Hot, Left, Middle and Right columns. Note: in Hot Layout width should be calculated like this:
 Example #2: Adding border to the frameIn case you want to underline a central frame you can go to CMS > Pages Layouts > click on the page you would like to change and then click on the Frame settings icon of the Middle Column. Next specify in the Frame Style field an appropriate CSS style, for example:  Click Save and Update and then check your site. 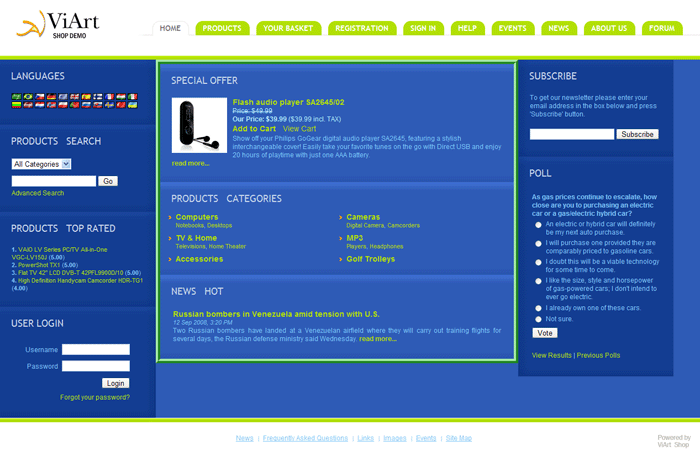 Example #3: Adding payment and delivery logos into the frameOne of the ways to display different logos on your site is using frame settings. For example, let's add payment systems and shipping services logos on the basket page like on the screenshot below. 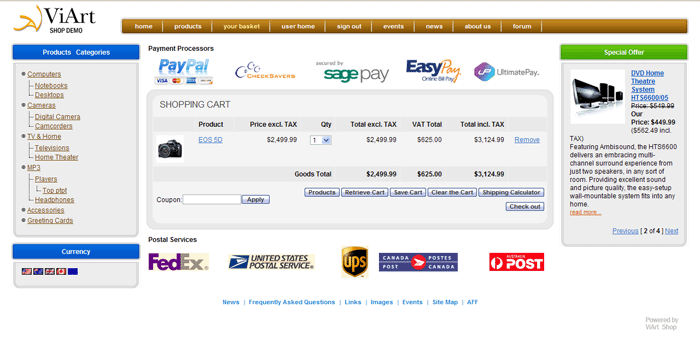 Go to CMS > Pages Layouts > Basket and click on the 'Middle Column' frame settings. In 'HTML Frame Start' field add a simple table with payment systems images e.g. And in the 'HTML Frame End' specify the postal services logos: Make sure your settings look like below. 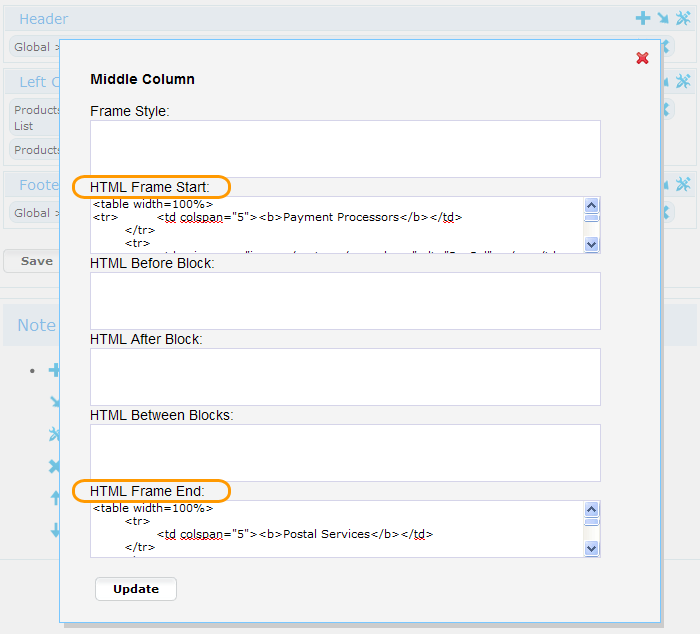 And the last step - click on Update button to save the frame settings and Save to save the page layout settings. Block SettingsTo specify blocks settings go to CMS tab > select the page you would like to edit and click on the 'Tools' icon next to the block. You will see a pop-up window with the following settings:
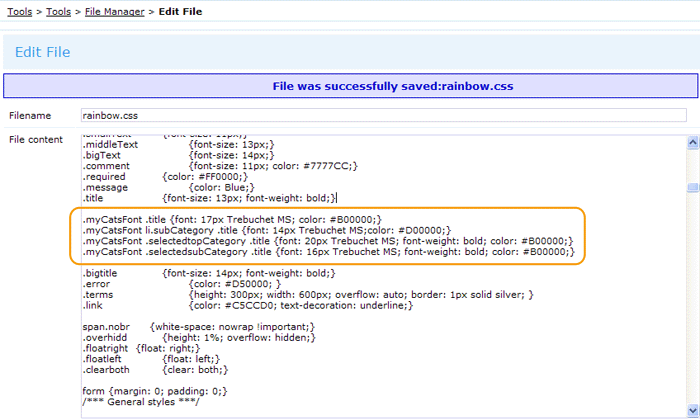
What is the difference between 'Block Style' and 'Block CSS Class''?You can use Block Style only on the occasion when the style is not defined for a block yet. For example, if there is no definition of the 'margin' in your design styles then you can enter in the Block Style field the following: 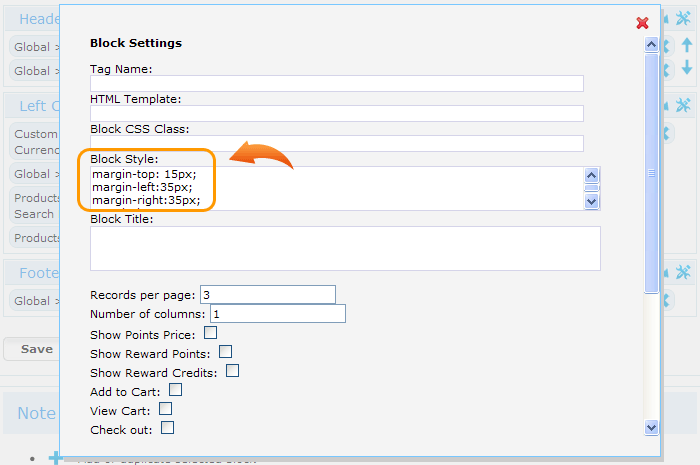 And these styles will apply to the block like below: 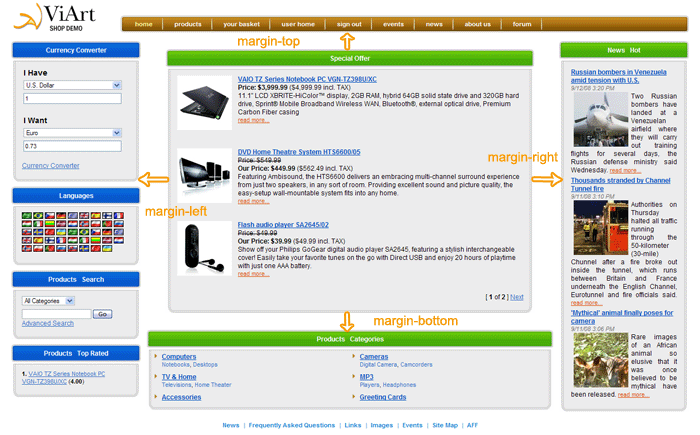 Example #4: Changing background of the blockBut if you wish to change background a style like "background-color: yellow;" wouldn't work because background is most likely has already been defined in another CSS class, for example Special Offer block in Double design uses a .BlockMiddle class: As you can see from the code above specifying the background colour, image URL or position in the Block Style field for Special Offer block is not going to work. That's why in this case we need to create a new style in CSS file to overrirde its current settings, for example: 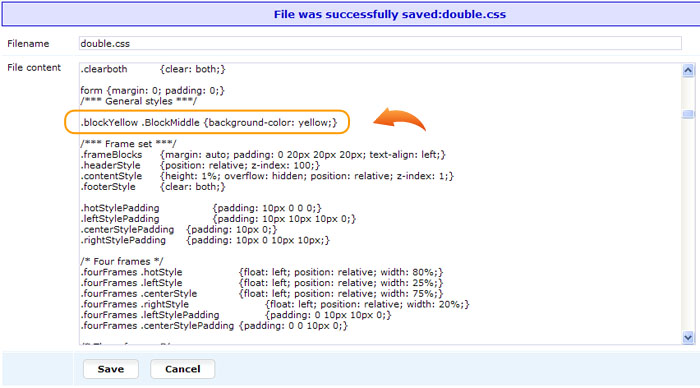 NOTE: the first word should be the name of your new style and the second word is the name of the style or property you want to override. Next you need to specify the name of a new class in the field Block CSS Class. Remember you should specify only the class name, without any dots or other style elements, please look at the screenshot below for example: 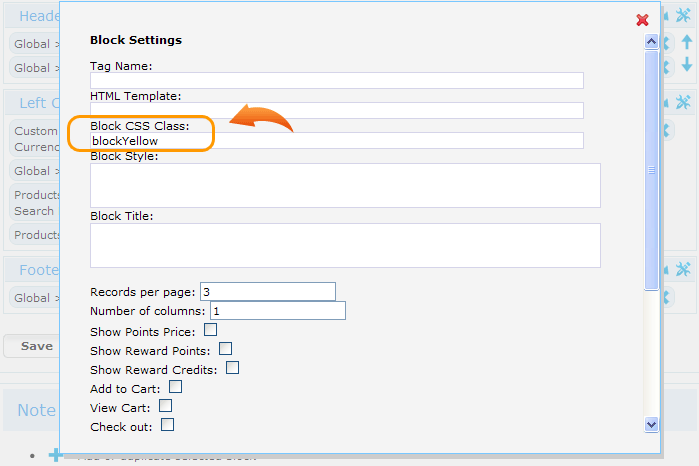 After clicking Update and Save, check your site where the background colour should be applied. 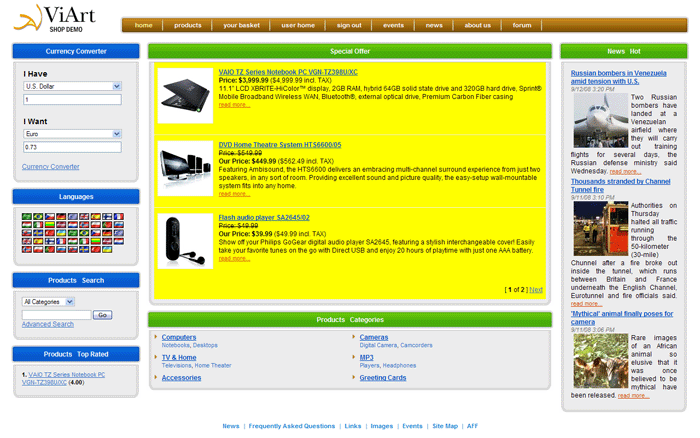 Example #5: Change text font and size in a blockUsually to change font in some block you need to find out what styles it uses and create a new CSS class that would override it. That's why we recommend to use the steps described below.
Block 'Categories List' has top and subcategory levels with active and inactive styles so check these styles as well. 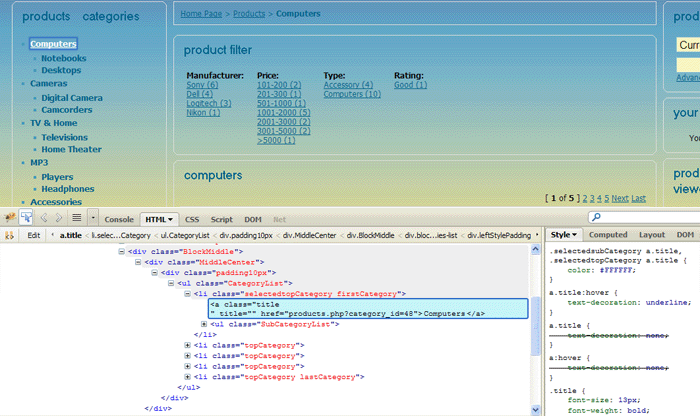 Next you just need to go to CMS > Pages Layouts > Products Listing Page > "Products > Categories List" settings > in Block CSS Class enter If you need to change the font of this block everywhere on the site (i.e. on all pages, index.php, products details, custom pages etc.) then look into this block's template, for example in our case it is 'block_categories_list.html' where on the first line find the default class applied to this block - block-categories-list:  So we need to create a class with block-categories-list name in CSS file and it will apply it to all Categories List blocks in ViArt Shop. 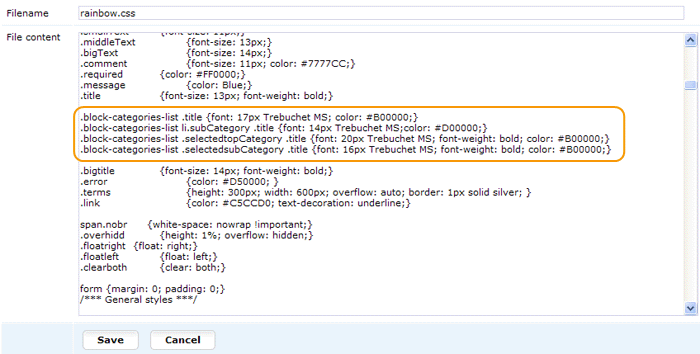 Example #6: Use block styles from different CSSBelow you can see an example of the Curved block styles in the Double design. 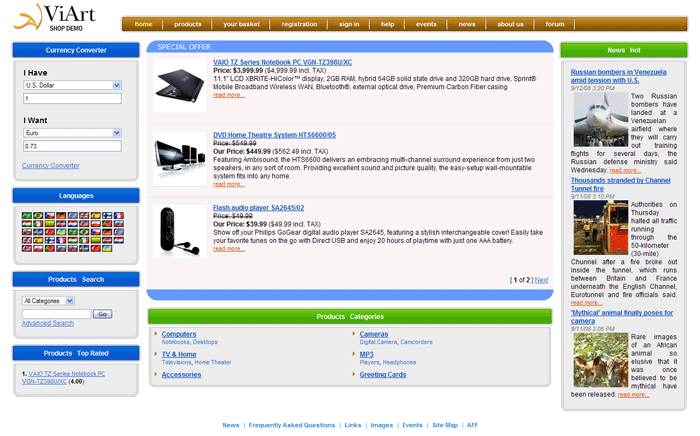 How to achieve this?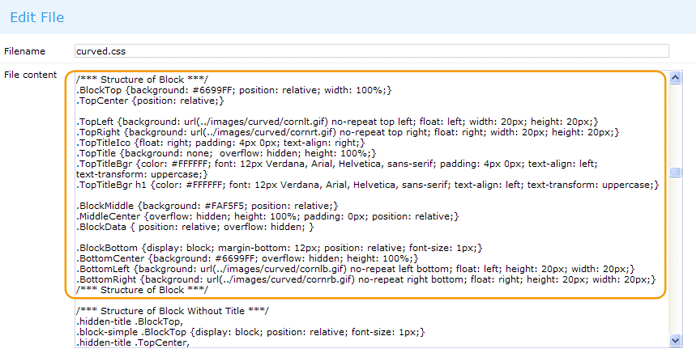 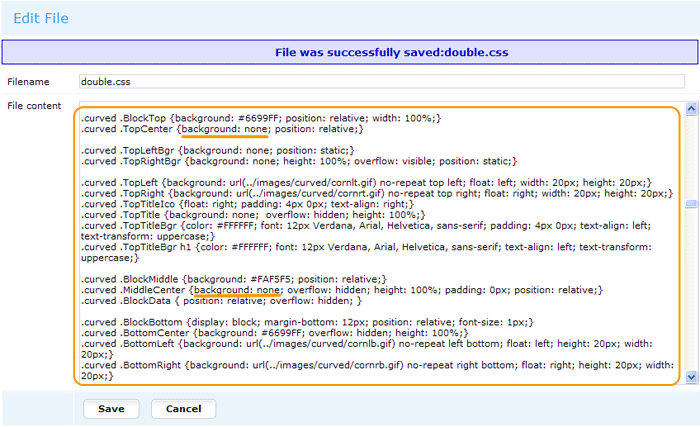 You can do the same procedure with other ViArt Shop designs, for example convex.css requires minimum changes as well. |
|
|


